My husband and I have been on a pretty serious, and probably verging on unhealthy, donut making kick lately. Luckily, we limit our intake pretty well by pawning the majority of them off on my husband’s coworkers. We started off making yeast raised donuts like your standard donut shop glazed variety, but my husband suggested we try our hand at some cake donuts. I have to admit that, going into this, I was a cake donut hater. I guess I just didn’t really know what to expect and my previous experience with cake donuts has been limited to the questionable ones gracing the shelves of our local grocery store and gas station. Okay, so look, we all know donuts aren’t going to land themselves on the Weight Watchers program, even with Oprah behind the wheel. So if I am going to go hard on the caloric intake train, it better be worth it. Let me tell you… it’s worth it. Every. Last. Calorie. These little beauties are like a golden brown lifesaver ring reeling you back to safety. Except you’re not drowning, and there’s no boat or fish or anything. Just you, relaxing on the couch during baby’s nap time, basking in the glory of quiet and destroying these magical bits of fried flour and sugar. And the best part is that they are super easy to make, and while they do have to spend some time in the refrigerator, the actual labor time is a small investment. So now that you’re daydreaming of peace and quiet and donuts let’s get started!
**FULL DISCLOSURE**
In order to make these taste fully absurd, you absolutely MUST fry in shortening. Okay, so you don’t have to, but you will get the most decadent and authentic “donut shop” flavor if you fry in the same fat that donuts shops use. Canola oil or some other flavorless oil will work, but it may result in an oilier donut and the flavor wont be on point. Go big or go home ladies.
Tools we need:
Measuring Cups (a scale is better if you have one)
Stand Mixer
Mediumish Mixing Bowl
Large Heavy Pot for Frying
Thermometer
2 Baking Sheets
Parchment Paper
Chop Sticks (or anything to flip the donuts in the oil, but NOT plastic!)
Wire Strainer Spoon (for fetching donut holes, can also use tongs)
Circle Cutters, (4inch & 1inch is what we used)
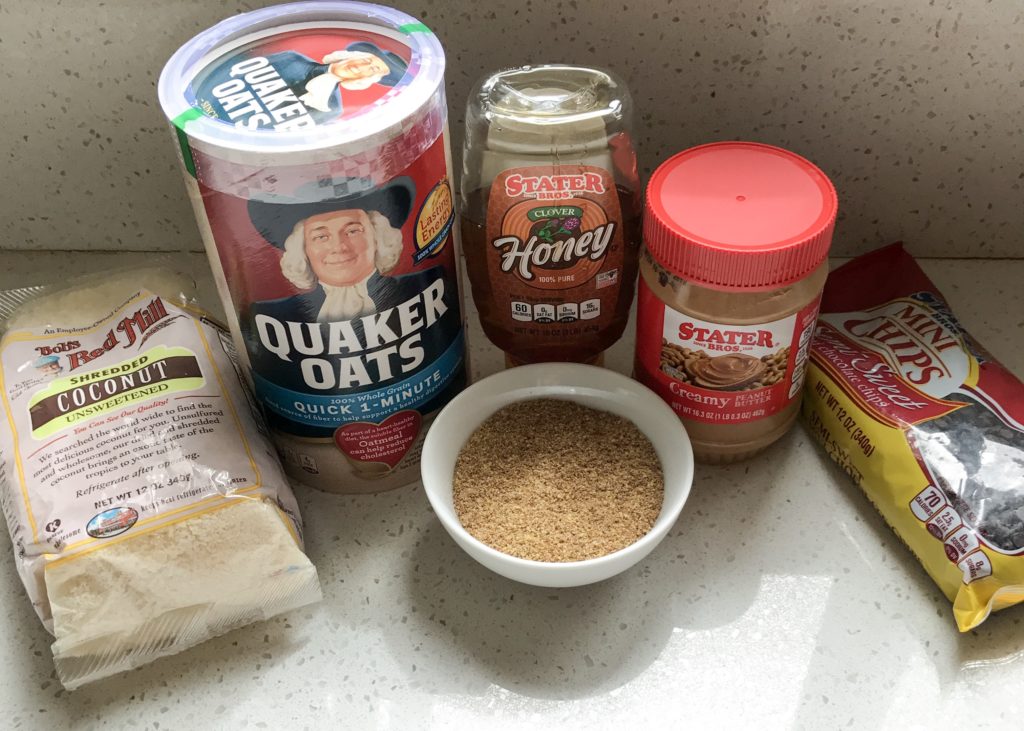
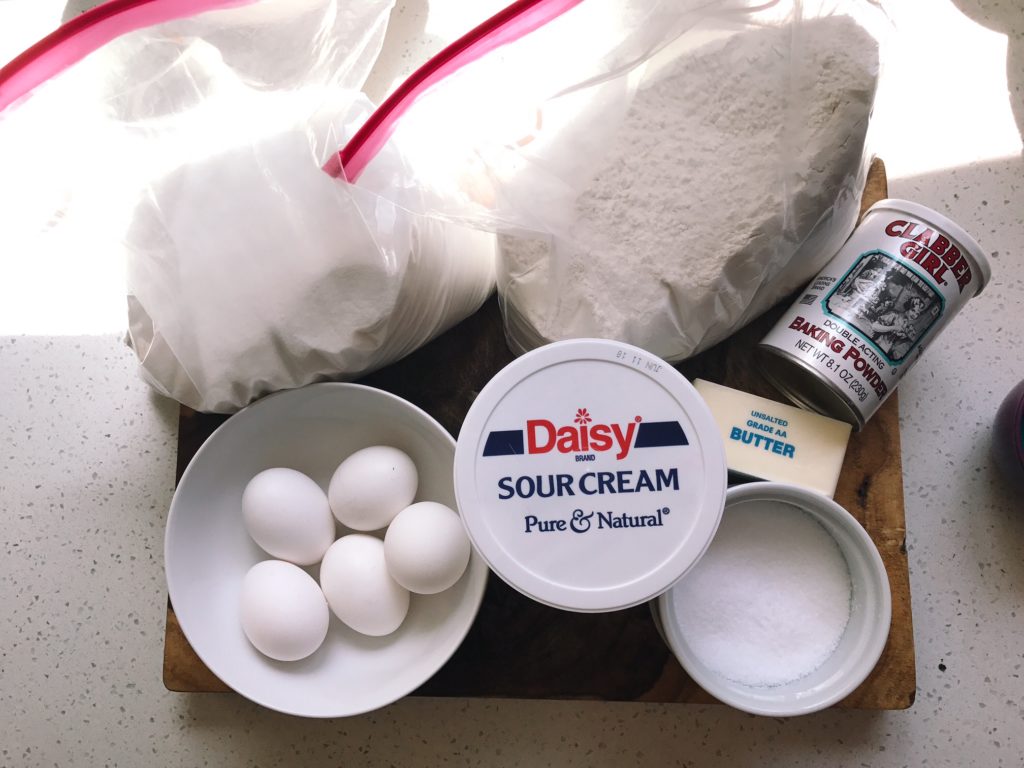
Ingredients:
Donuts:
4 ¾ Cups All Purpose Flour (600 grams)
1 Tablespoon + ¾ Teaspoon (15 grams)
1 Tablespoon Salt (12 grams)
1 ¼ Cups Granulated Sugar (240 grams)
5 Large Egg Yolks (90 grams)
2 ½ Tablespoons Butter Softened (36 grams)
1 ½ Cups Sour Cream (380 grams)
Glaze:
1 ½ Cups Powdered Sugar
Tiny Bit of Milk
½ Teaspoon Vanilla Extract
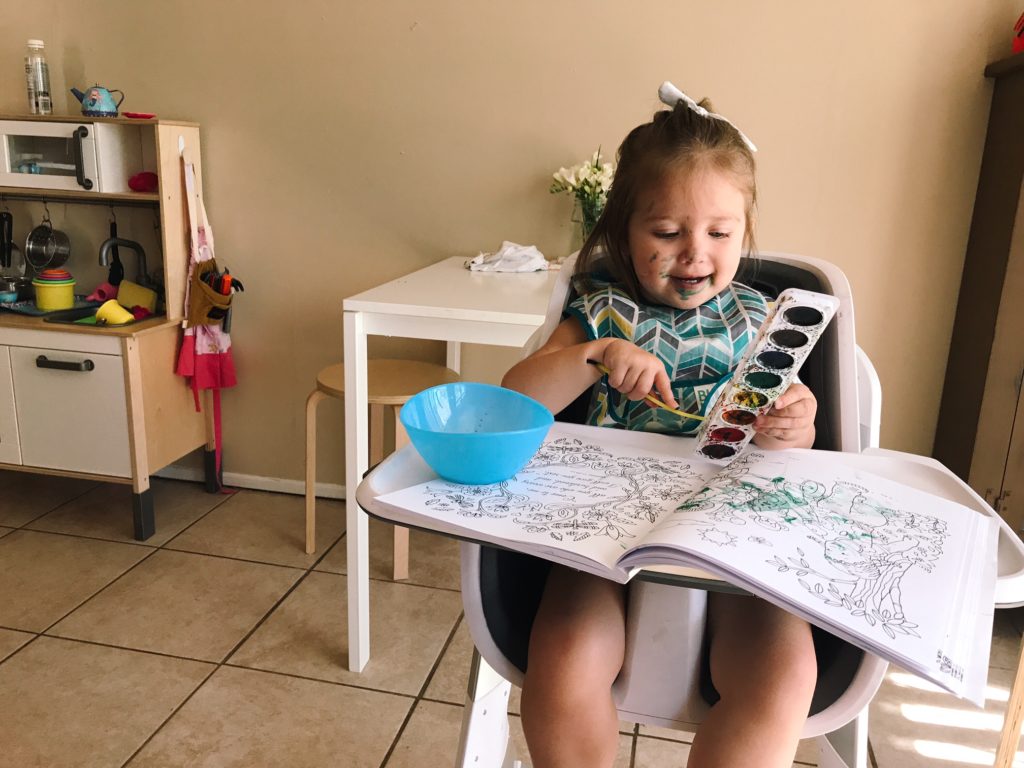
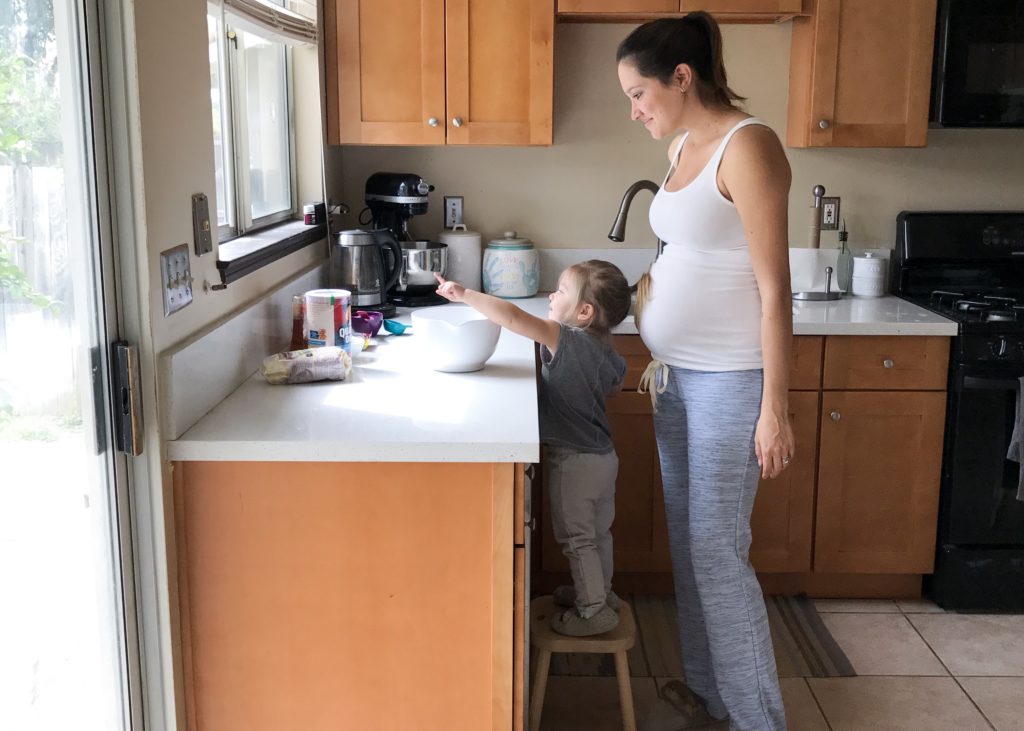
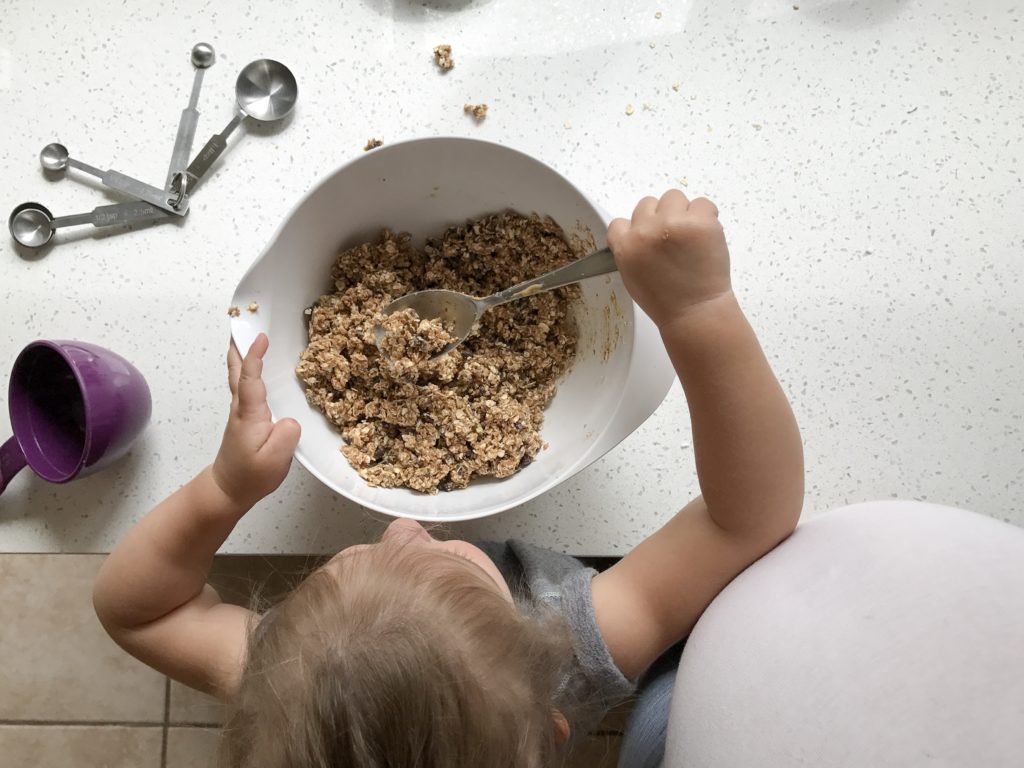
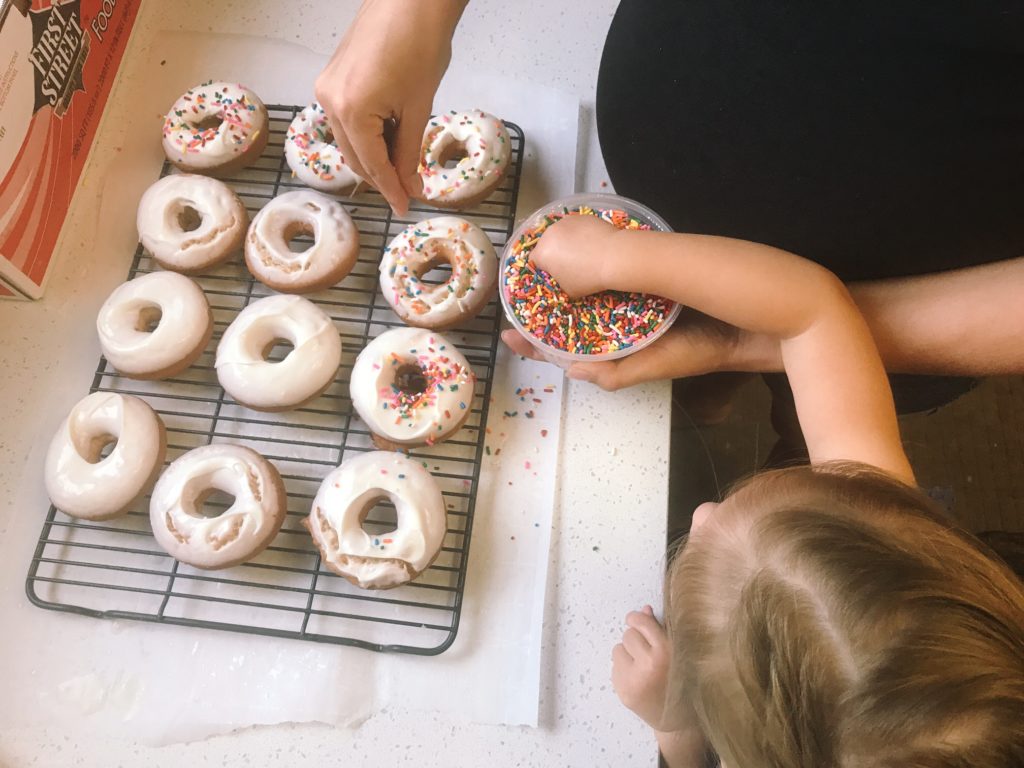
Step 1 – Occupy your child, unless they prefer to “help.”
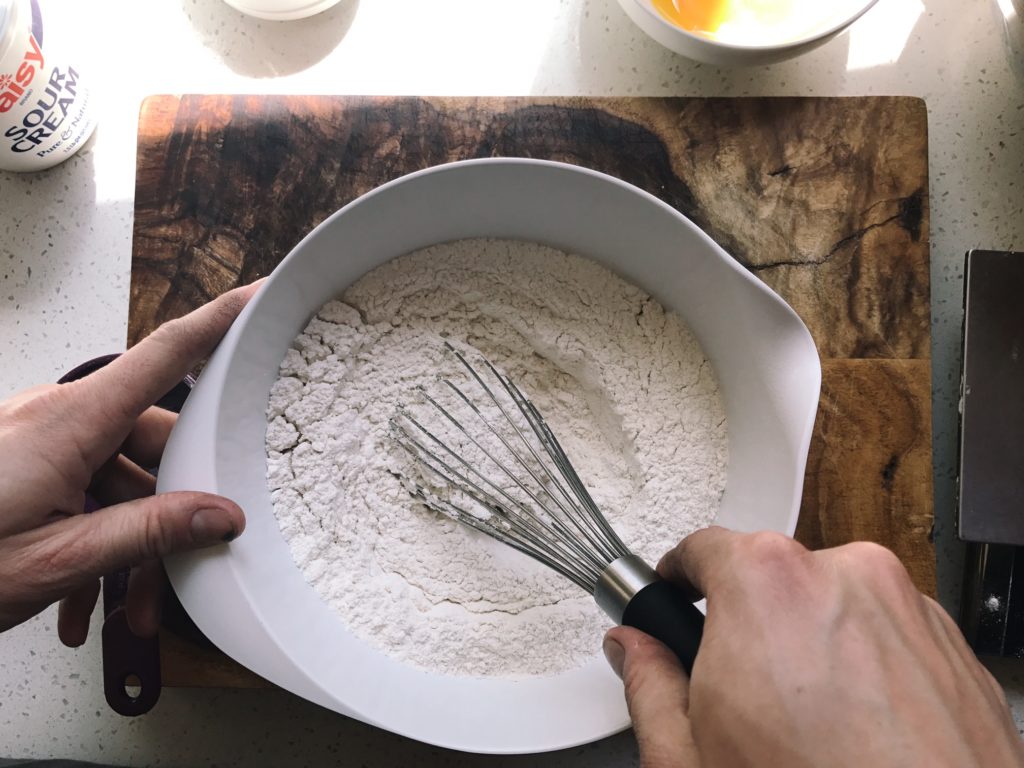
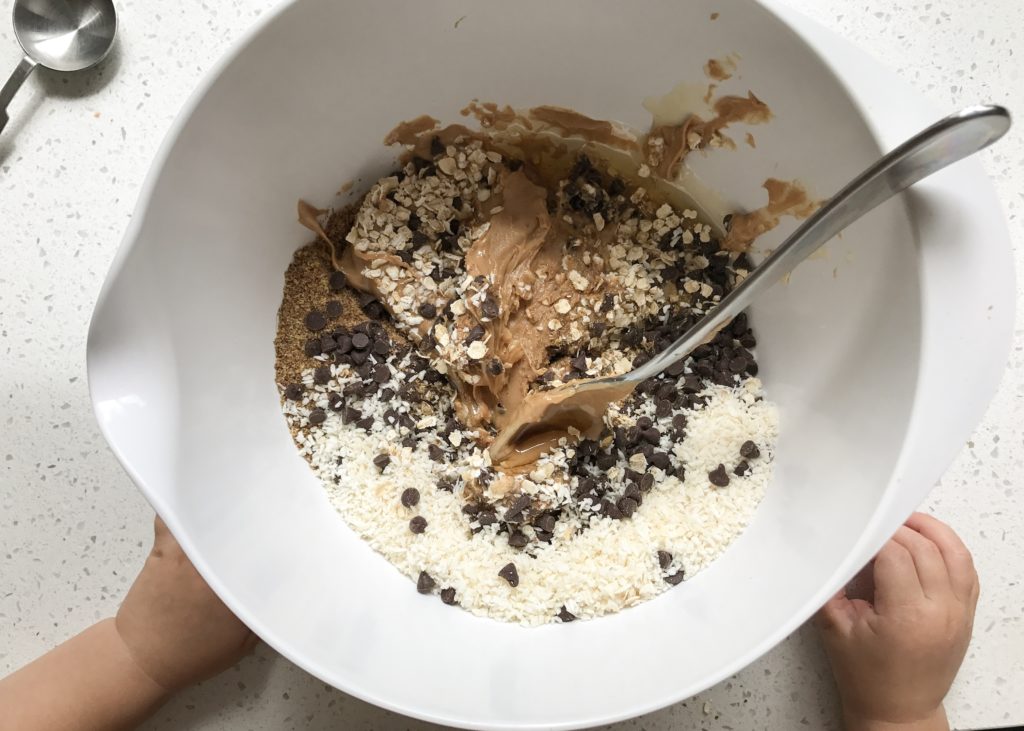
Whisk together all dry ingredients.

Separate eggs and melt butter.

Mix egg yolks and butter together with sugar.
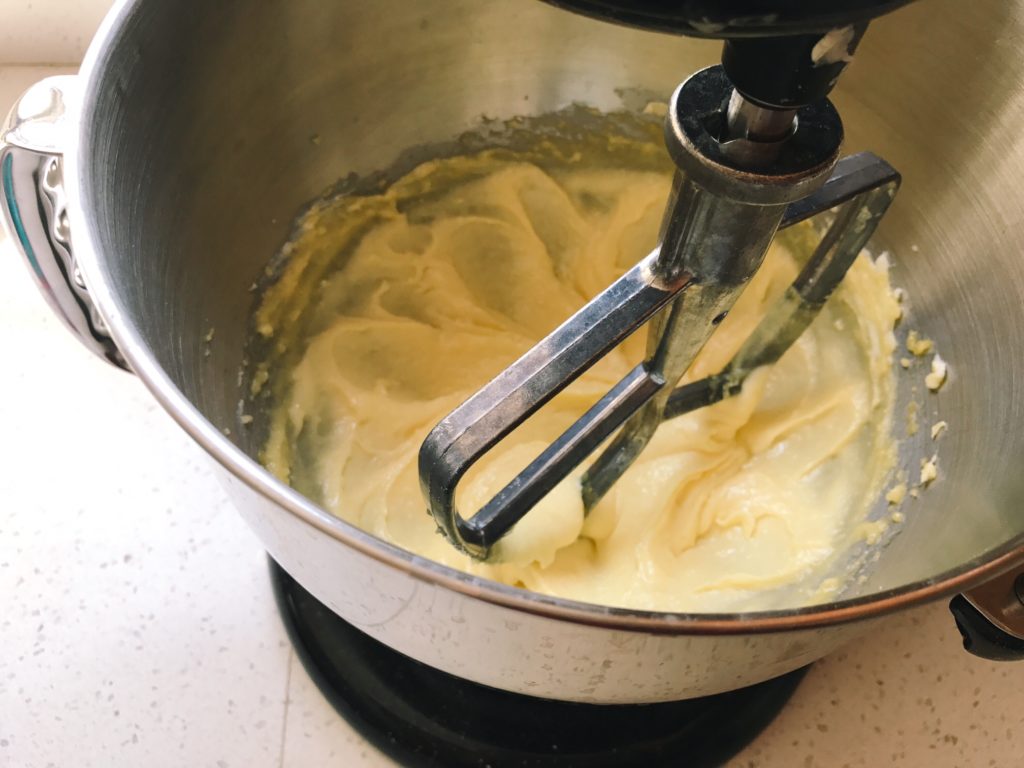
Beat egg yolks, butter and sugar in a stand mixture on medium/high for 2 minutes.
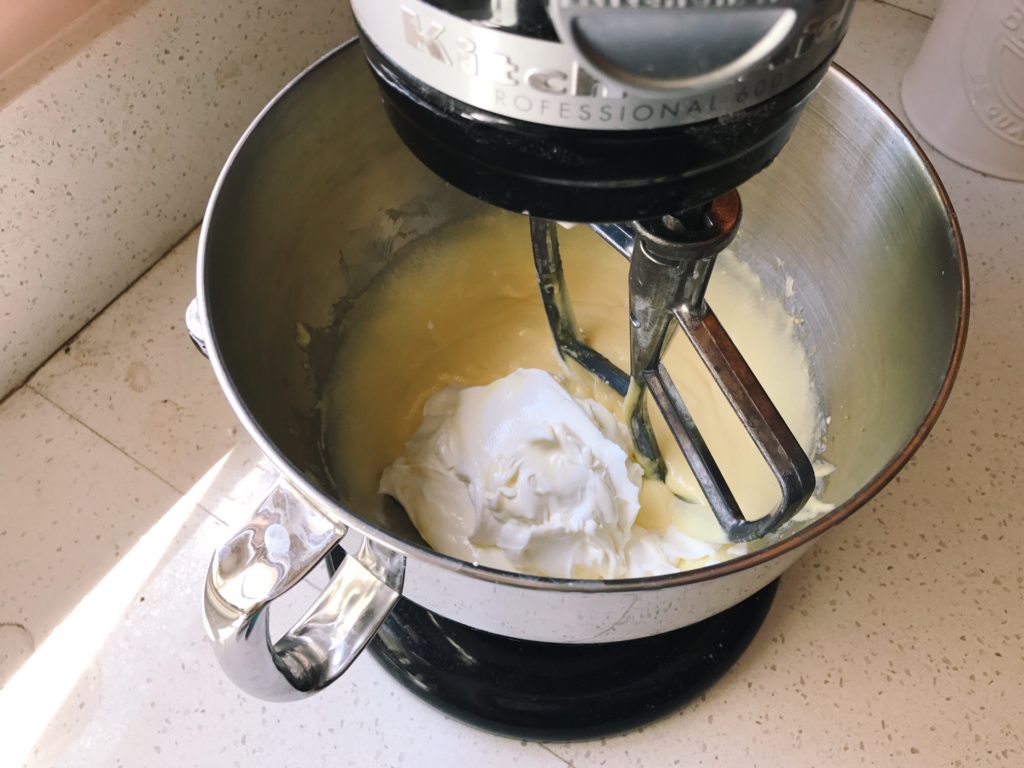
Add sour cream to mixture and beat until combined. Scrape down sides of bowl halfway through.
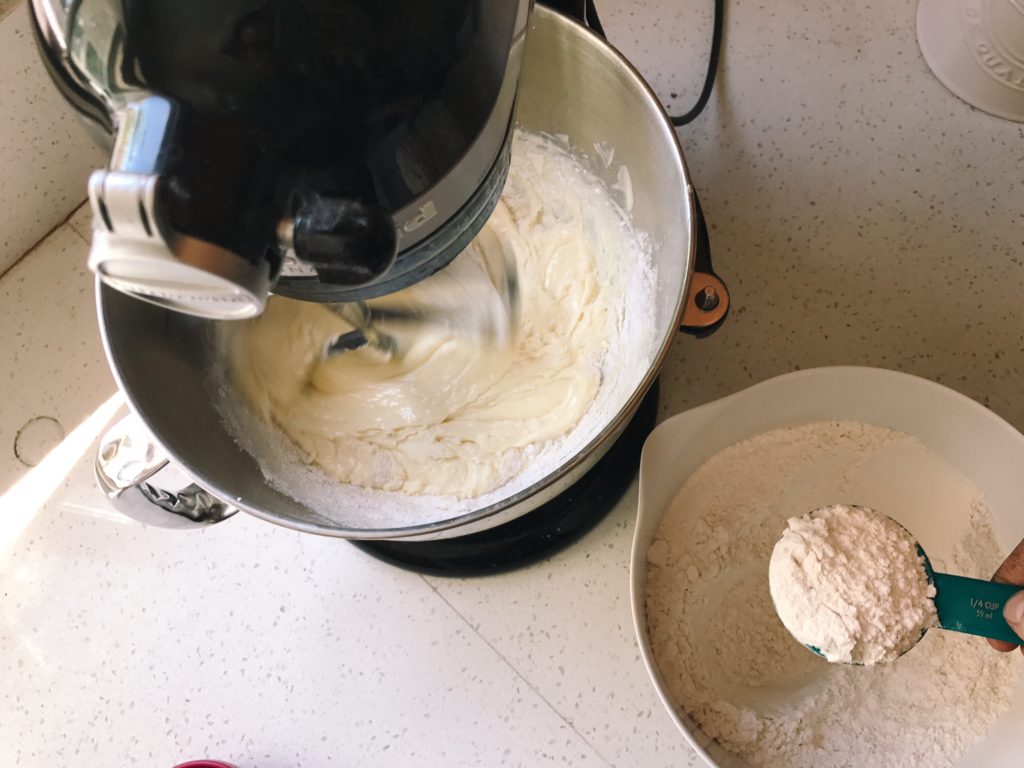
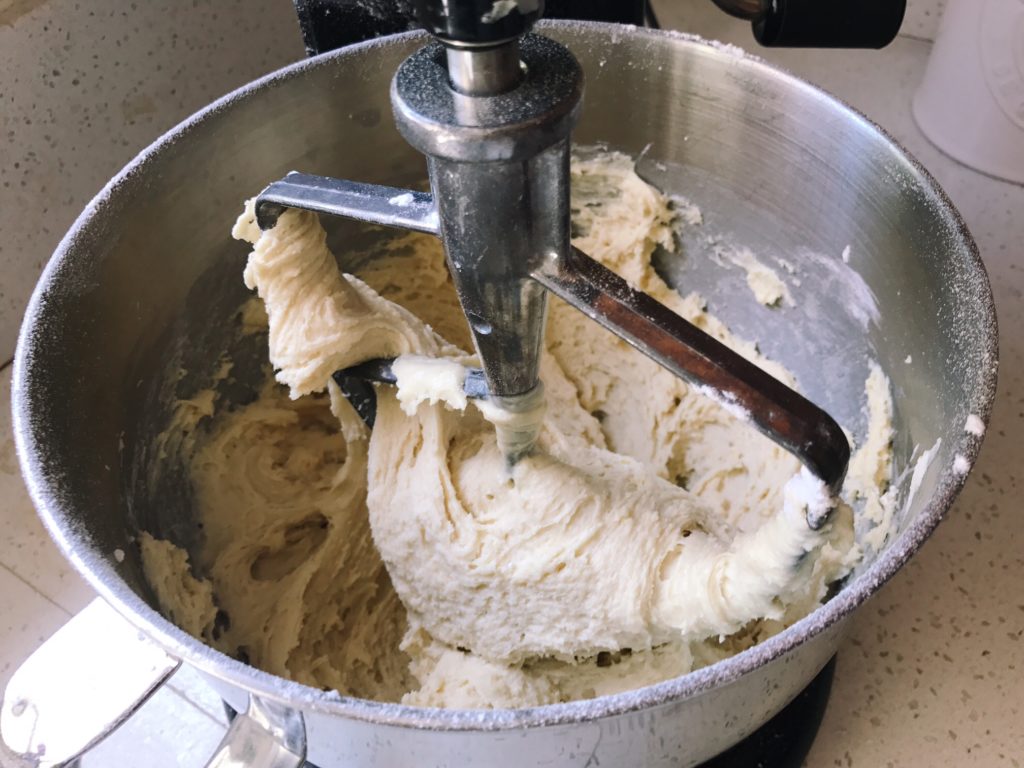
Start adding dry ingredients 1/4 cup at a time, waiting until flour is mostly incorporated into wet ingredients before adding more. It is important to work quickly during this step. You want to make sure the mixture is fully incorporated, however, keep mixing time as minimal as possible to prevent a tough dough.
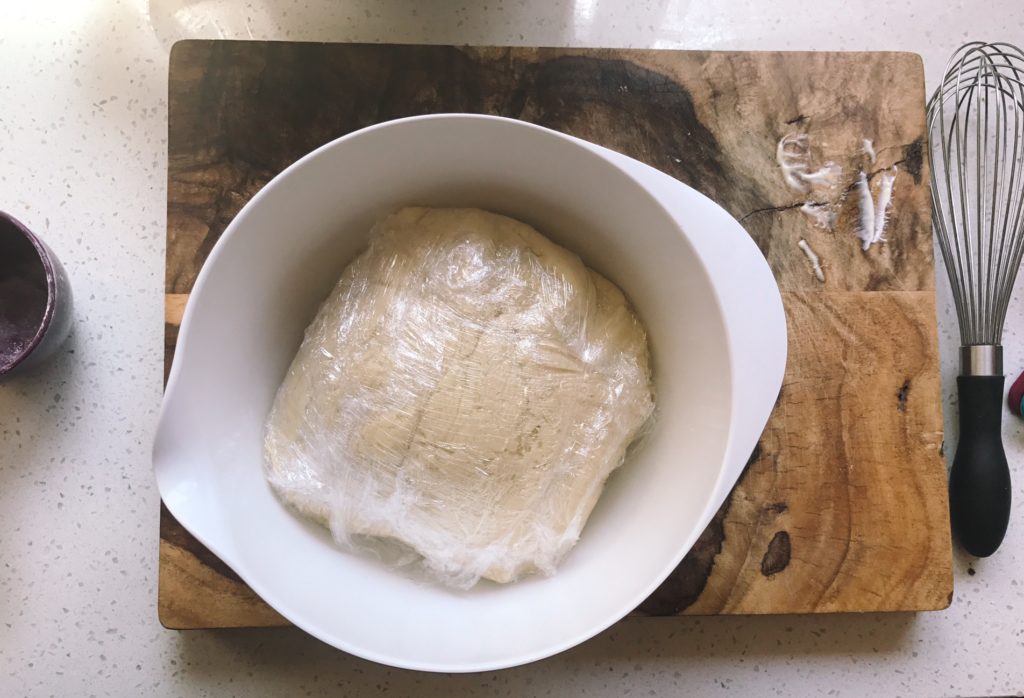
Line bowl with plastic wrap and oil, add dough and wrap up. Refrigerate for at least an hour.
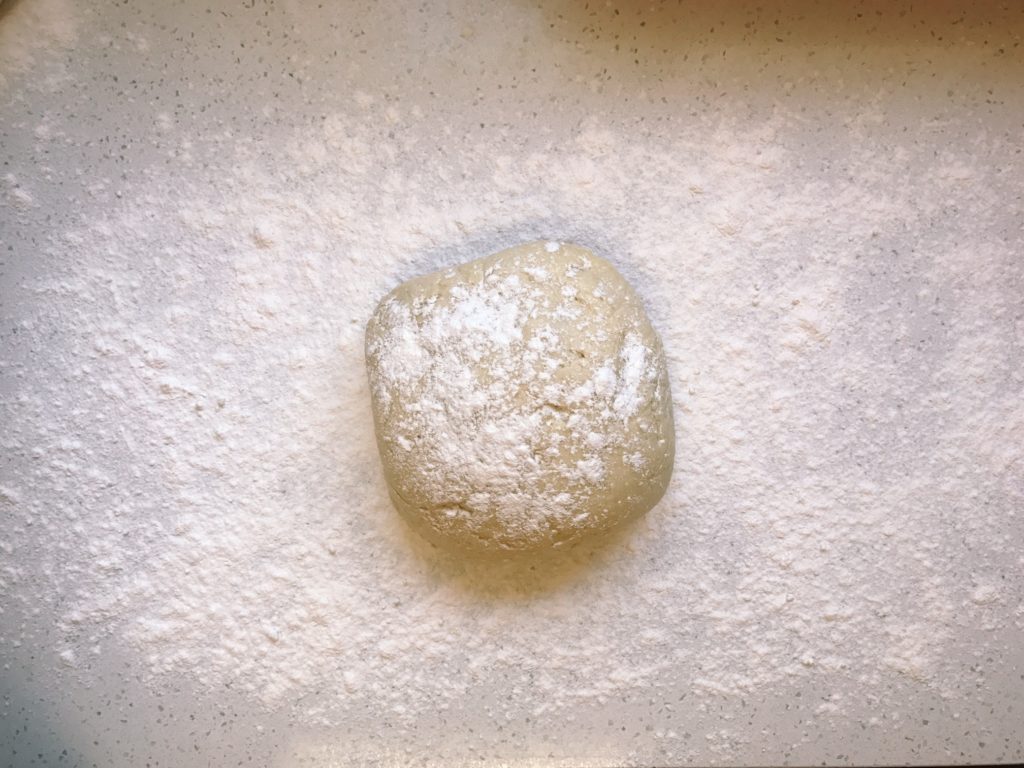
Before you begin rolling out donuts, prepare two sheet trays with parchment paper. Flour counter top and dough. Don’t go easy with the flour, dough will be extremely sticky.
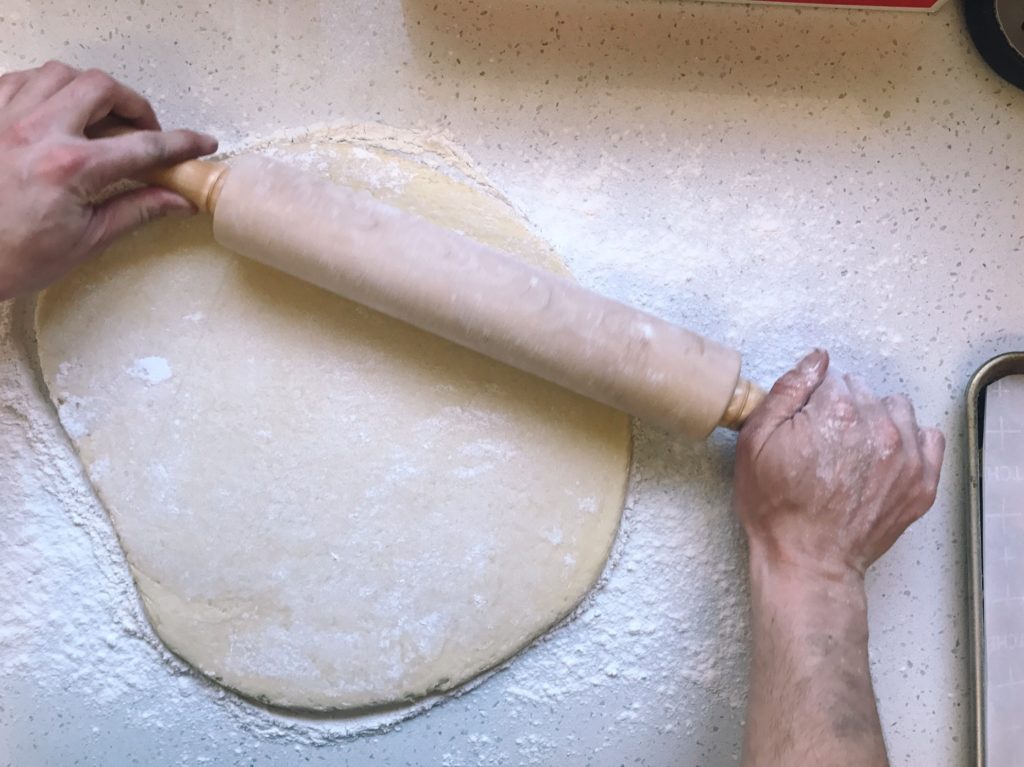
Roll out dough into about a 14×14 circle or until dough is about a 1/2 inch thick.
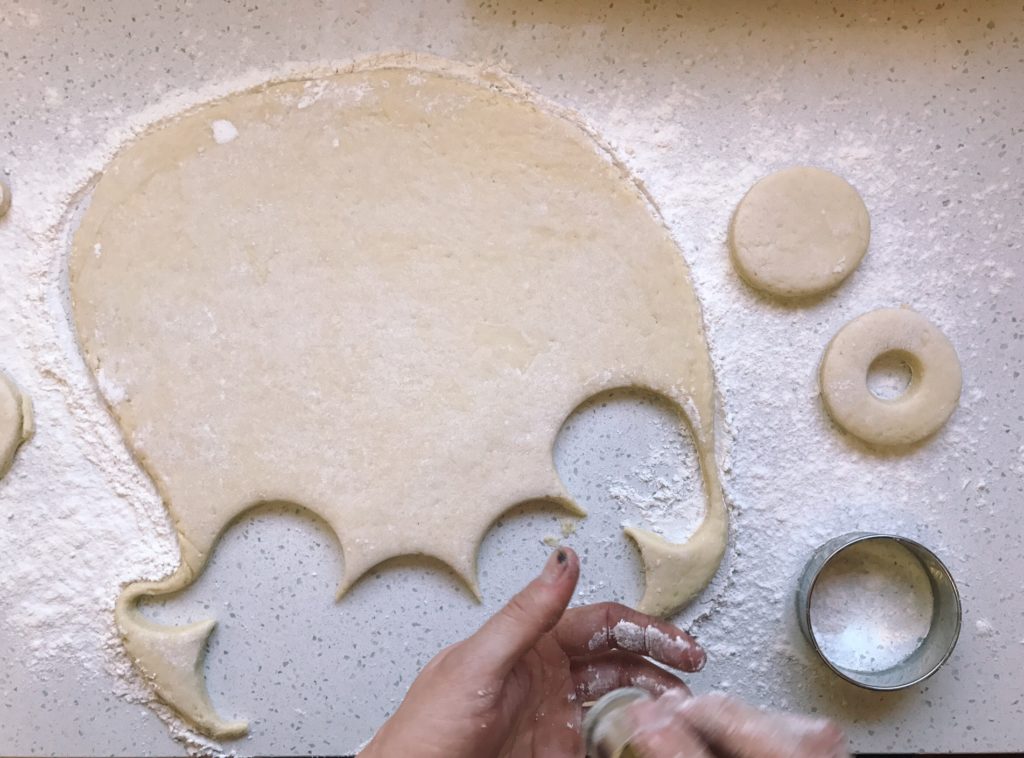
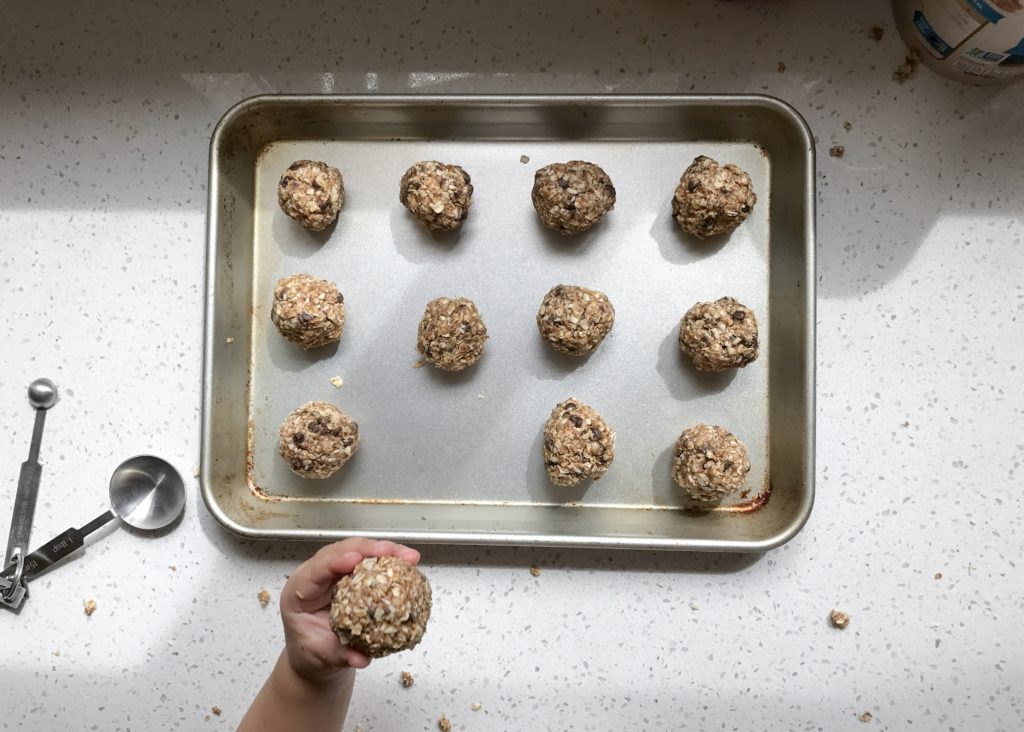
Cut out donuts and donut holes (works best if you work in shifts of 3-4 donuts, moving them from the counter to the sheet pans before they start to stick).

Makes about a dozen donuts and donut holes plus more depending on how many donut holes you feel like cutting out with remaining dough. Once on trays refrigerate for a least another hour. During this time make the glaze and prepare oil pot and thermostat. To make glaze, add milk one tablespoon at a time to the powdered sugar until you have a nice thick consistency. Don’t overdo it! It takes a surprisingly small amount of milk. Add vanilla extract and give it a taste, cause you know, its awesome.
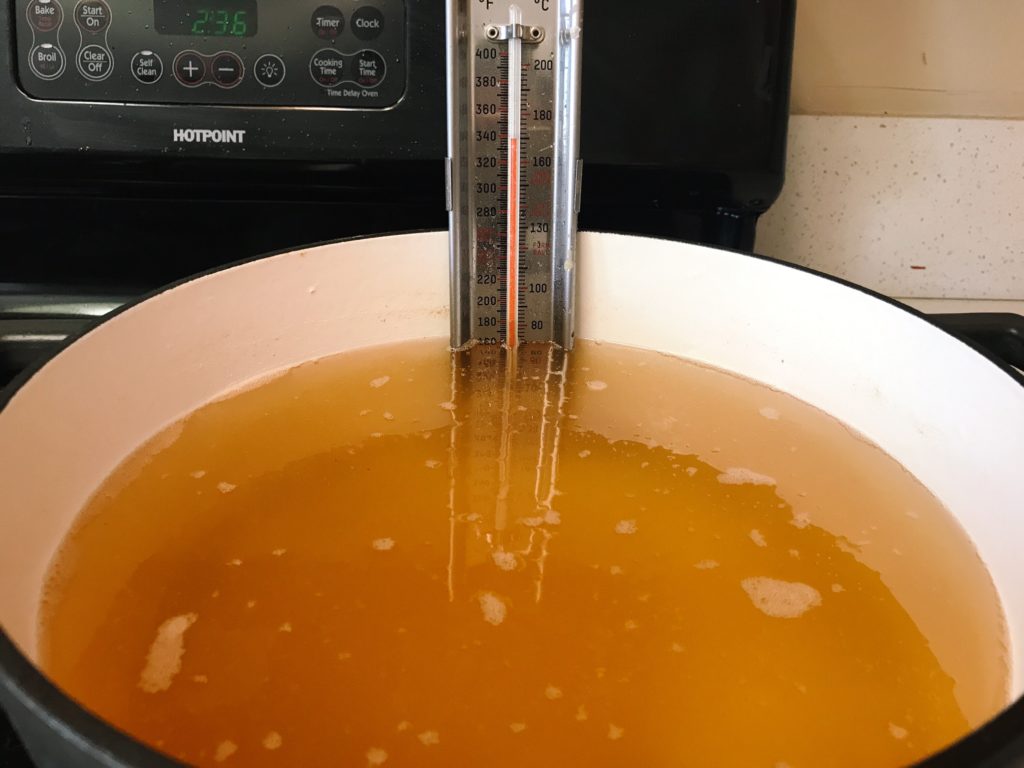
Use enough oil or shortening so you have at least three inches in your pot. Heat to 350 degrees F. Use thermometer throughout frying to maintain proper temperature.
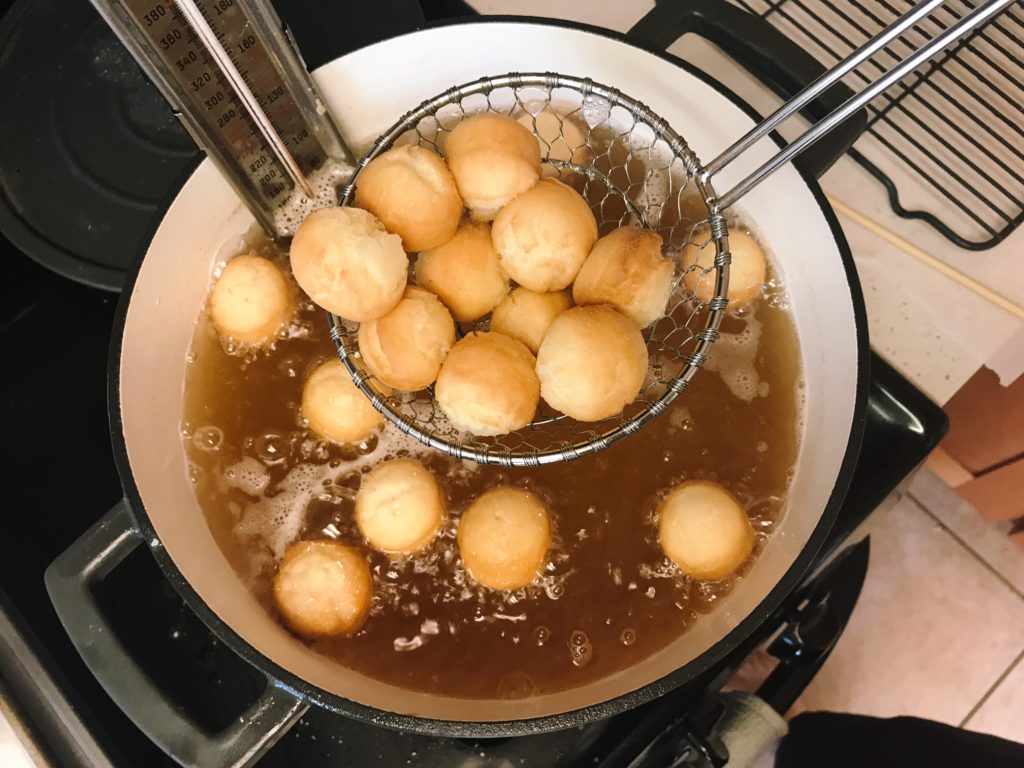
Drop donut holes into preheated oil. They will sink to the bottom. Once they rise to the surface cook for about 30 seconds, then flip with chop stick and fry until bottom is golden brown (about a minute). Flip again and fry until golden brown (about a minute).
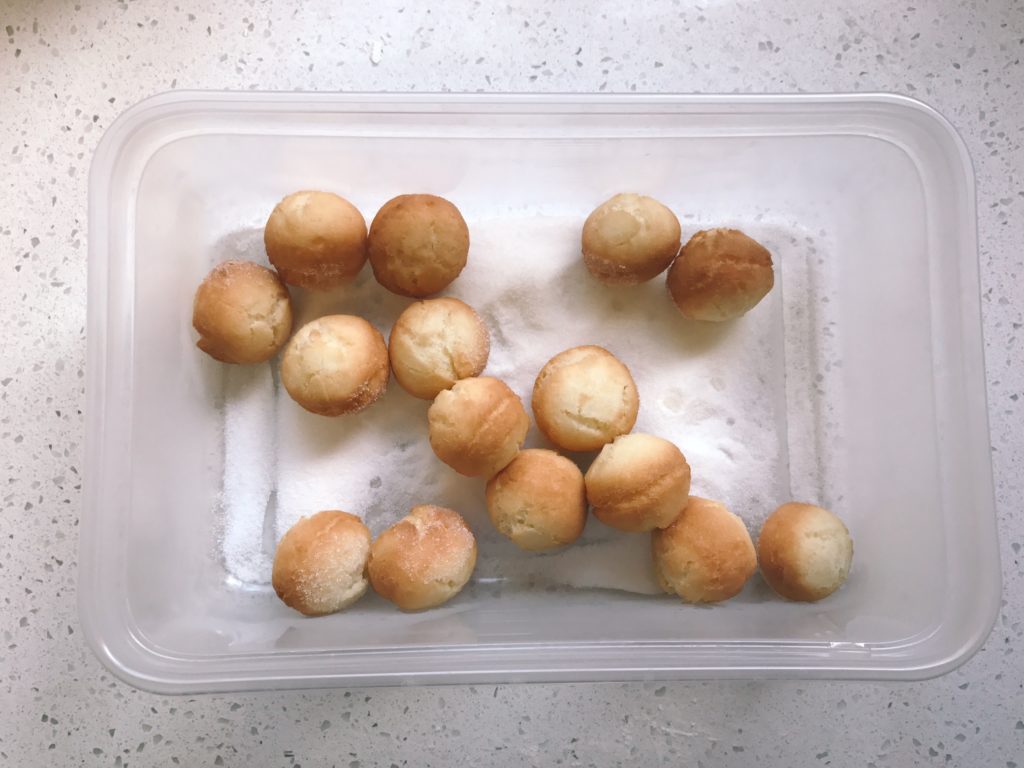
Once out of the fryer immediately toss with cane sugar.
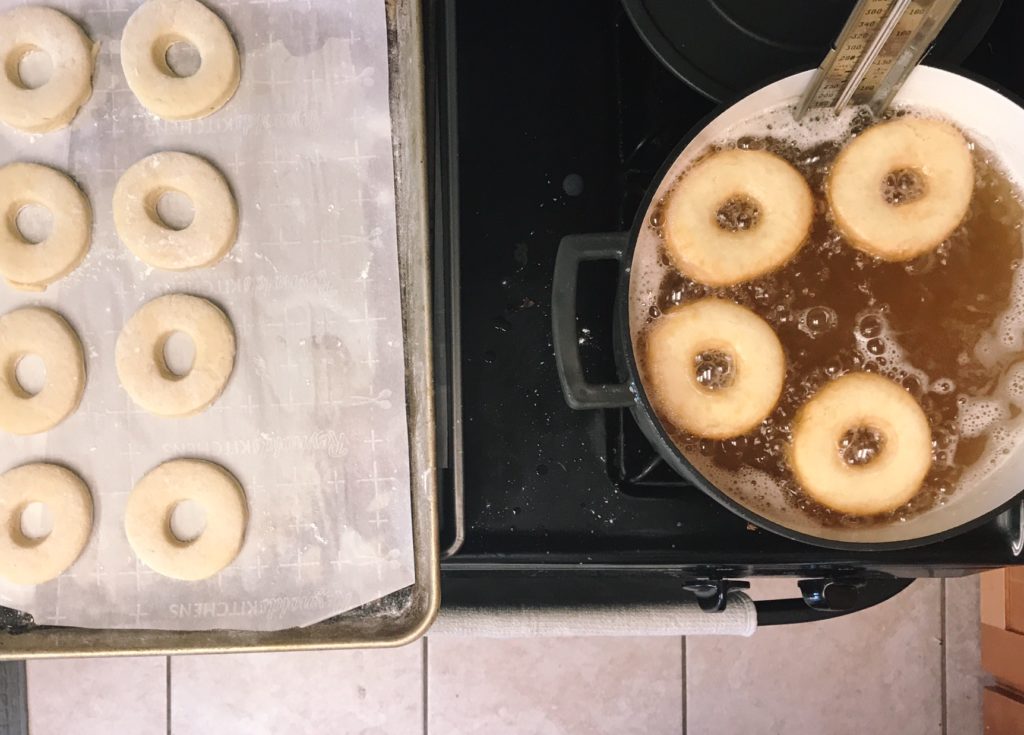
Fry 3-4 donuts at a time depending on the size of your pot, don’t over crowd the donuts. Once donuts rise to the surface cook for 30 seconds then flip. Fry until golden brown (about 80 to 90 seconds). Flip and fry again until golden brown (about 80 to 90 seconds).

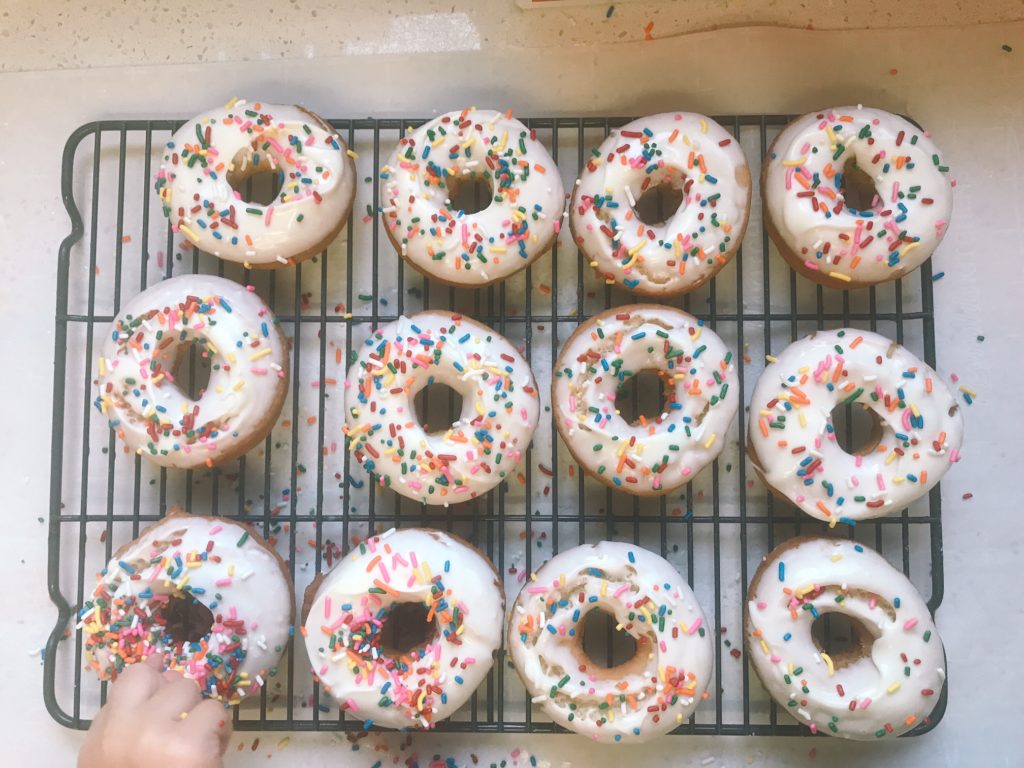
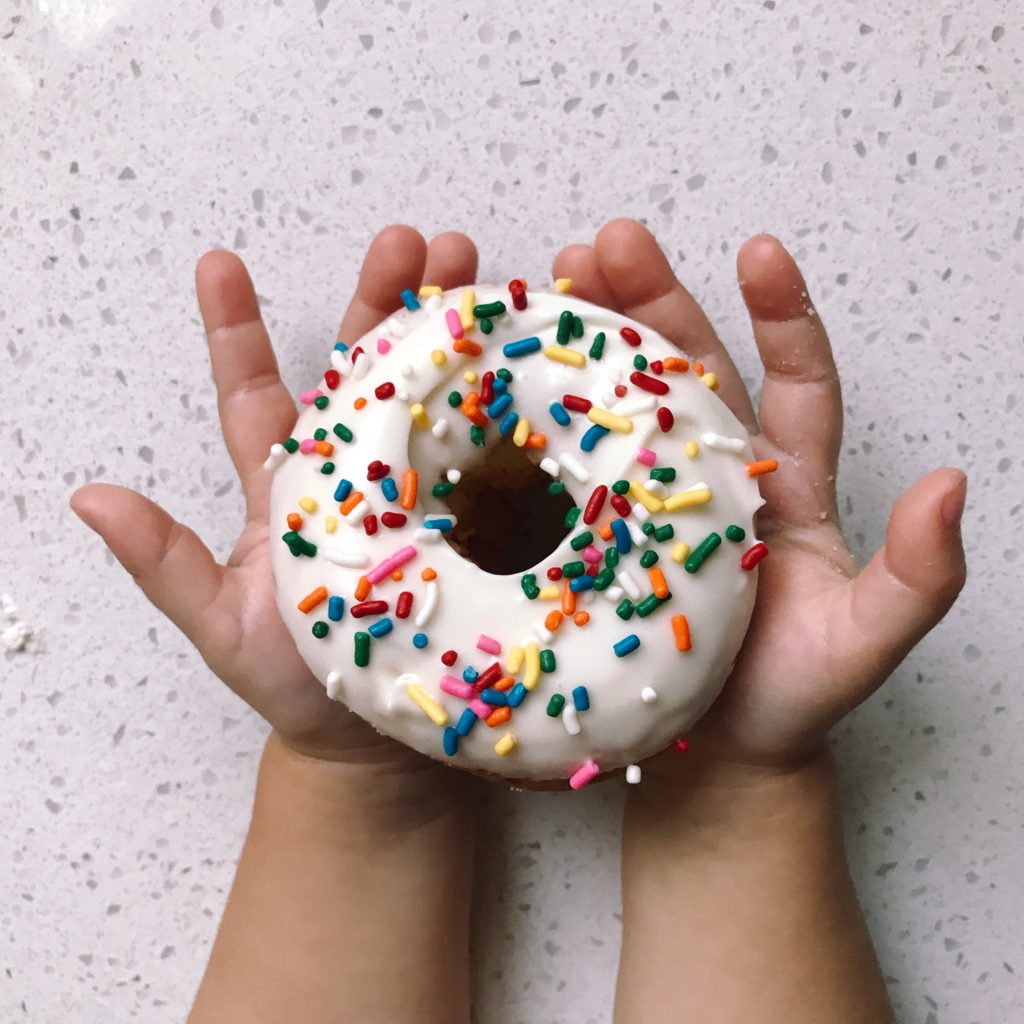
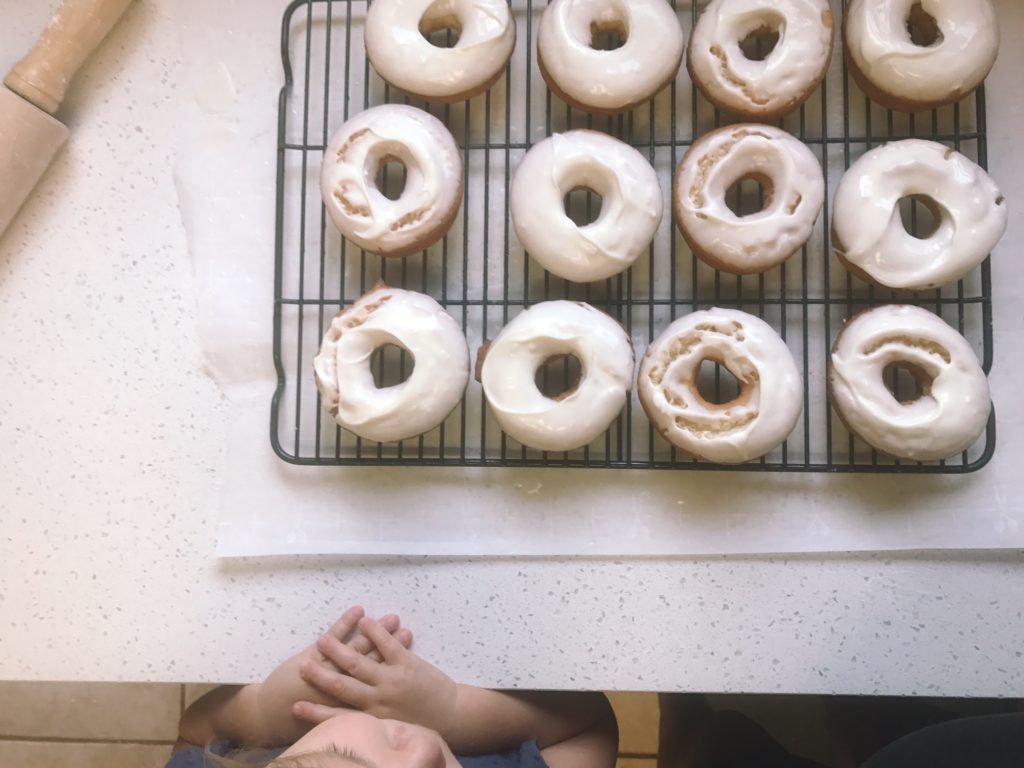
Completely cool donuts before you glaze. Dip donuts halfway into the glaze and back onto the cooling rack.
Sprinkle if desired!
ENJOY! and thank me later 🙂